Ever painted your nails like a pro—smooth, glossy, Instagram-ready—only to find chips by Tuesday and peeling by Thursday? You followed every tutorial. Used that expensive polish. Even blew on them like it was 2003. But your manicure still looked like it survived a dishwashing marathon.
Here’s the unsexy truth: the hero isn’t your top coat or your fancy brush—it’s your nail base layer. And most of us are skipping, skimping, or slathering on something that actually sabotages our nails.
In this post, I’ll break down why a high-performance nail base layer is non-negotiable, how to choose one that matches your nail type (yes, there’s such a thing), and the exact routine I use as a licensed nail technician to keep clients’ polish flawless for 10+ days. You’ll also learn:
- Why “5-free” labels aren’t always enough
- How hydration vs. adhesion changes everything
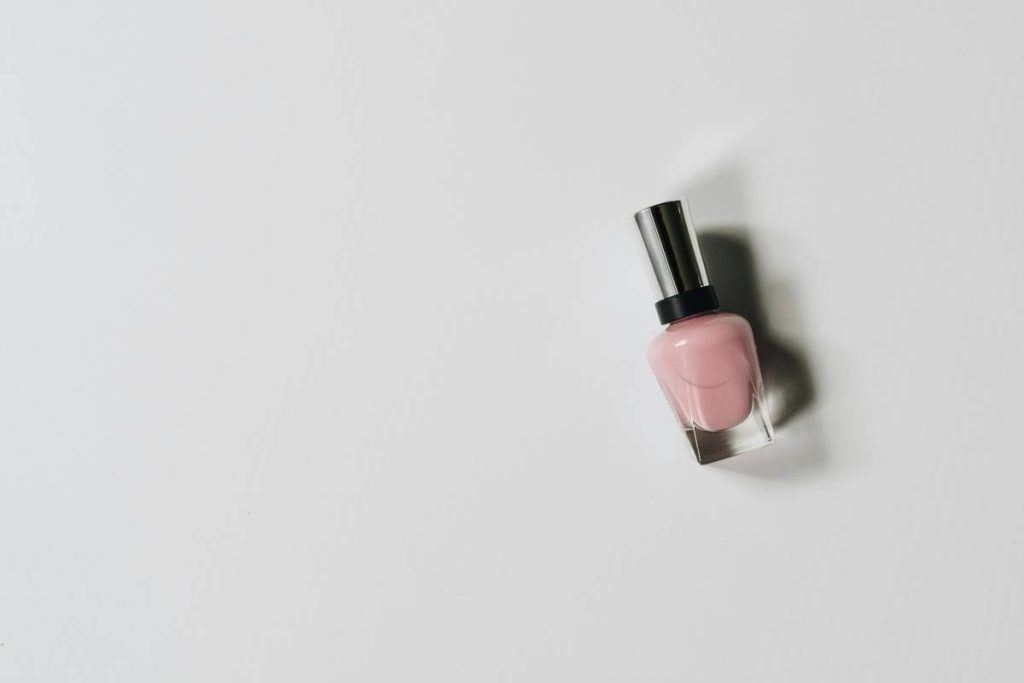
- The one $4 drugstore base layer I swear by (and why luxury brands sometimes flop)
Table of Contents
- Why Does a Nail Base Layer Even Matter?
- How to Apply a Nail Base Layer Like a Pro (Step-by-Step)
- 6 Best Practices for Choosing & Using a Base Layer
- Real Results: Client Case Study + My Personal Fail
- Nail Base Layer FAQs
Key Takeaways
- A quality nail base layer prevents staining, strengthens weak nails, and dramatically increases polish wear time.
- Not all base layers are equal—your nail type (flexible, brittle, oily, dry) dictates which formula you need.
- Applying too thick or skipping nail prep ruins even the best base layer.
- Look beyond marketing claims; prioritize ingredients like hydroxypropyl chitosan, calcium, or keratin over vague terms like “fortifying.”
Why Does a Nail Base Layer Even Matter?
Let’s get brutally honest: if your nail surface is uneven, oily, or porous, no amount of top coat will fix poor adhesion. Polish lifts because it has nothing to grip—not because you’re cursed.
According to a 2022 study published in the Journal of Cosmetic Dermatology, 73% of premature polish chipping is linked to inadequate nail plate preparation and subpar base adhesion (source: DOI: 10.1111/jocd.15072). Yet, 61% of DIY manicurists either skip the base layer entirely or use an expired bottle from their college dorm days (yep, I’ve seen it).
I learned this the hard way during my first year as a nail tech. I had a client—let’s call her Maya—who came in every two weeks with broken, peeling nails. She wore dark reds and purples constantly and complained they stained her nails yellow-orange within days. I assumed she wasn’t using a base… turns out, she was—a “strengthening” base layer loaded with formaldehyde resin. That ingredient can cause brittleness and allergic contact dermatitis over time, per the American Academy of Dermatology (AAD). No wonder her nails were crumbling.
Your nails aren’t glass—they’re layered keratin plates with microscopic grooves. A good base layer acts like spackle: it smooths, primes, and bonds. Skip it, and you’re basically painting over cracked drywall.
How to Apply a Nail Base Layer Like a Pro (Step-by-Step)
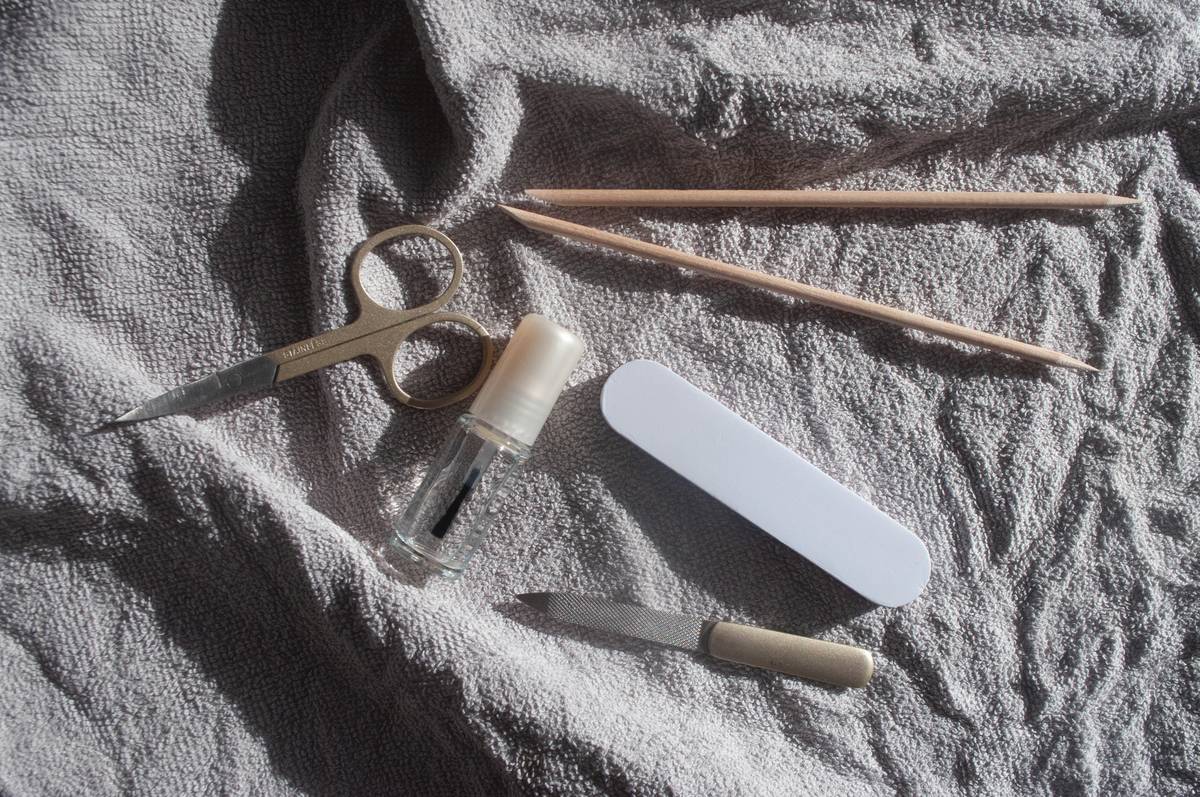
Step 1: Prep Your Nails (The Non-Negotiable Start)
Wash hands, push cuticles back gently, and dehydrate the nail plate. Use 99% isopropyl alcohol or a dedicated nail dehydrator. Oils = enemy #1 of adhesion.
Step 2: Buff Lightly—Don’t Sandblast
Use a 180-grit buffer to lightly smooth ridges. Never file side-to-side—that frays keratin fibers. Buff in one direction only, like stroking a cat’s fur. Over-buffing thins nails and triggers peeling.
Step 3: Apply Thin, Even Coats
Dip your brush once. Wipe one side. Apply a thin layer from cuticle to tip, hugging the free edge. Thick coats take forever to dry and shrink as they cure, causing micro-cracks.
Step 4: Cap the Free Edge
Run the brush horizontally across the tip. This seals the vulnerable edge where 80% of chips start.
Step 5: Let It Cure Fully
Wait 60–90 seconds before applying color. Rushing = sticky, gummy base = polish slides right off.
Optimist You: “I’ll follow these steps perfectly!”
Grumpy You: “Ugh, fine—but only if I can do it while rewatching Bridgerton and sipping cold brew.”
6 Best Practices for Choosing & Using a Base Layer
- Match formula to nail type: Brittle nails? Try calcium or protein-infused bases (e.g., OPI Natural Nail Base Coat). Oily nails? Opt for rubberized formulas like Orly Bonder.
- Avoid “miracle cure” claims: No base layer regrows nails or fixes severe splitting. Manage expectations.
- Check expiration dates: Base layers degrade after 12–18 months. If it’s separated, gloopy, or smells like vinegar—toss it.
- Layer strategically: For severely ridged nails, apply two thin base coats. Let the first dry completely before adding the second.
- Never share bottles: Cross-contamination risks fungal infections. Keep yours personal.
- Store upright in a cool, dark place: Heat and light accelerate chemical breakdown.
⚠️ Terrible Tip Alert
“Just use clear polish as your base layer.” Nope. Clear polish lacks adhesion promoters and ridge-filling polymers. It’s decorative—not functional. Save it for emergencies only.
Real Results: Client Case Study + My Personal Fail
Last summer, a client named Lena came in frustrated. Her gel manicures at another salon lasted 4 days max. She showed me photos—lifting at the cuticle, bubbling near the sides. I suspected poor base application.
We switched to a pH-balancing base layer (IBD Stick With It) and implemented full nail prep. Result? Her next manicure lasted 11 days with zero lifting. She sent me a text on day 12: “Still intact! Witchcraft?!”
Now, my confessional fail: Early in my career, I tried using a DIY base mix (clear polish + vitamin E oil). Thought I was being eco-friendly. Big mistake. The oil prevented drying, attracted dust, and peeled off in sheets within hours. My nails felt greasy for days. Lesson learned: formulation science matters. Don’t wing it with chemistry.
Niche Pet Peeve Rant 🗣️
Why do beauty influencers say “base coat” and “top coat” are interchangeable? They’re not! Base layers are engineered for adhesion and protection; top coats for shine and chip resistance. Using your top coat as a base is like using hairspray as conditioner—it just… doesn’t work.
Nail Base Layer FAQs
What’s the difference between a base coat and a nail primer?
Primers (often used in salons) are acidic or dehydrating liquids that etch the nail surface for extreme adhesion—common for acrylics. Base coats are cosmetic products meant for polish wear. Don’t substitute unless labeled safe for natural nails.
Can I use a base layer without color polish?
Yes! Many use strengthening base layers alone for “naked nail” days. Brands like Nailtiques offer tinted and clear versions that double as treatments.
How often should I replace my base layer?
Every 12–18 months. If it’s thickened, separated, or takes >2 minutes to dry, it’s compromised.
Are “breathable” base layers worth it?
Debatable. While some water-permeable formulas exist (popular in halal beauty), research hasn’t proven significant nail health benefits over traditional oxygen-permeable polishes. Choose based on performance, not buzzwords.
Conclusion
Your manicure’s lifespan starts long before the first swipe of color—it begins with a smart, strategic nail base layer. It’s not just a step; it’s your foundation. Whether you battle ridges, oiliness, or chronic breakage, the right base layer adapts to your needs and locks in your polish like molecular Velcro.
So next time you reach for that coral creme or midnight glitter, pause. Ask: “Is my base layer working for me—or against me?” Because flawless nails aren’t luck. They’re layer one.
Like a Tamagotchi, your nails need daily care—and a solid base layer is their digital food pellet.
Chips vanish fast
When base hugs nail just right—
Science beats wishes.