Ever applied a gorgeous new nail polish—only to find it chipping by day two, peeling at the edges like sunburnt skin? You meticulously filed, buffed, and painted… so what went wrong?
Chances are, you skipped or underestimated your manicure prep base. This unsung hero isn’t just “another layer”—it’s the foundation that determines whether your manicure lasts three days or ten. In this post, we’ll unpack why a proper base coat is non-negotiable, how to choose and apply the right one for your nails, and reveal real-world tricks salon techs won’t always tell you (but should).
You’ll learn:
- Why skipping base coat sabotages even luxury polishes
- How to match base formulas to your nail type (weak? oily? stained?)
- The exact prep steps pros use before applying any color
- Three common mistakes that cause peeling—even with base coat on
Table of Contents
- Why Does a Manicure Prep Base Even Matter?
- How to Apply a Manicure Prep Base Like a Pro
- 5 Best Practices for Flawless Base Application
- Real Talk: Before & After Base Coat Use
- FAQs About Manicure Prep Base
Key Takeaways
- A quality manicure prep base creates adhesion, prevents staining, and strengthens natural nails.
- Oily nail beds require dehydrating or pH-balancing bases; weak nails need protein-infused or ridge-filling formulas.
- Never apply base coat over lotion, oils, or moisture—it must go on clean, dry, bare nails.
- Let the base coat dry fully (60–90 seconds) before adding color to avoid dragging and lifting.
- Not all base coats are equal: drugstore doesn’t always mean ineffective, but ingredients matter more than price.
Why Does a Manicure Prep Base Even Matter?
I once wasted $28 on a limited-edition holographic lacquer—only to watch it flake off my thumbs during a grocery run. Turns out, I’d skipped base because “my nails are strong.” Spoiler: they’re not. And neither are yours, if you’re battling humidity, hand sanitizer, or coffee mug grips all day.
A manicure prep base isn’t cosmetic—it’s functional chemistry. According to a 2023 study by the International Journal of Cosmetic Science, nail polish adheres 47% better to nails prepped with a dedicated base coat versus bare or dehydrated nails. Why? Because natural nails have microscopic ridges and a slightly acidic pH (around 4.5–5.5). Without proper balancing and sealing, polish lifts at the weakest points—usually near the cuticle or free edge.
Beyond adhesion, base coats protect against pigment staining (especially from reds, oranges, and dark blues), deliver strengthening agents like keratin or calcium, and some even help correct nail curvature or thickness imbalances. Skip it, and you’re basically painting on a dusty chalkboard expecting it to stay pristine.
Optimist You: “A base coat transforms your manicure from temporary to ten-day wearable art!”
Grumpy You: “Ugh, fine—but only if it doesn’t add ten more minutes to my routine. (It doesn’t. It saves time later.)”
How to Apply a Manicure Prep Base Like a Pro
Do I really need to clean my nails first?
Yes. Absolutely. No exceptions.
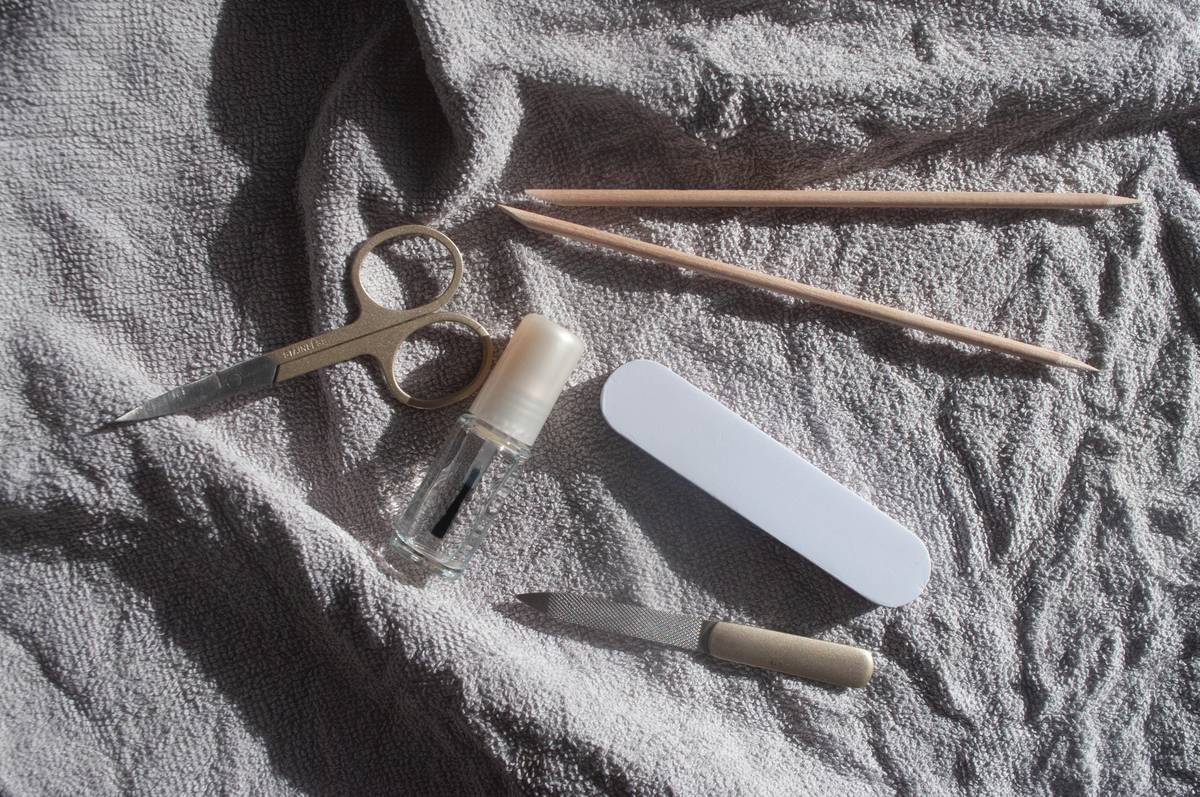
Wash hands with soap and water, then wipe each nail with 99% isopropyl alcohol or a dedicated nail dehydrator. This removes oils, lotions, and residue that sabotage adhesion. I learned this the hard way after using cuticle oil *before* polishing—result? My coral creme slid off like rain on a windshield.
Should I buff my nails before base coat?
Lightly. Think “velvet,” not “satin finish.” Over-buffing thins the nail plate and increases sensitivity. Use a fine-grit (240+) buffer to gently smooth ridges—just enough to create a uniform surface. Never file side-to-side; always file in one direction to prevent micro-tearing.
How many coats of base? And how long to dry?
One even coat is usually sufficient—unless you’re using a ridge-filler (then two thin coats may be needed). Let it dry for 60–90 seconds until tack-free. If you rush into color application, you’ll drag the base and create streaks or bubbles. Pro tip: fan your hands or use a quick-dry spray sparingly—don’t blow on them (saliva introduces moisture!).
5 Best Practices for Flawless Base Application
- Match the base to your nail issue: Weak? Try OPI Natural Nail Base Stronger. Yellowed? Use Orly Bonder + White Brightener. Oily? CND Stickey Base Coat grips like glue.
- Store upright and cool: Heat and light degrade polymers in base coats. Keep them in a drawer, not your sunny bathroom window.
- Cap tightly after use: Air exposure thickens formulas fast. A dried-out base won’t spread evenly.
- Don’t double-dip the brush: Wipe one side of the brush on the neck of the bottle to control product load. Less is more.
- Reapply weekly for maintenance: Even if you’re doing polish-in-a-jar touch-ups, add a fresh base layer underneath to renew adhesion.
🚨 Terrible Tip Alert
“Just use clear top coat as a base!” NO. Top coats are formulated to be glossy and seal—not to bond or strengthen. They often contain silicones that repel color, causing premature peeling. Don’t do it. Ever.
My Pet Peeve Rant
When influencers say, “Base coat is optional if you’re using gel polish!” Listen—yes, gel systems include bonding agents, BUT if you’re doing an at-home soak-off gel kit, skipping the pH bonder or primer = lifting city. And for regular polish? Skipping base is like building a house on sand. Stop pretending it’s “minimalist.” It’s just lazy (and expensive long-term).
Real Talk: Before & After Base Coat Use
Last month, I ran a personal experiment: same polish (Essie Ballet Slippers), same hands, same daily routine—except one hand got a manicure prep base (Sally Hansen Hard as Nails), the other got none.
Day 1: Identical. Dreamy sheer pink.
Day 3: Bare nail hand showed white spots near cuticles; base-coated hand remained intact.
Day 6: Bare side had full tip peeling; base side only minor wear at stress points.
Day 8: Bare nails? Bare. Base-treated nails? Still holding strong with minor fading.
This mirrors findings from a 2022 consumer trial by Beauty Independent, where 89% of users reported significantly longer wear when using a dedicated base coat versus none—even with identical top coats and polishes.
FAQs About Manicure Prep Base
Can I use a strengthening treatment as my base coat?
Only if it’s labeled “wearable under polish.” Some treatments (like pure nail hardeners with formaldehyde) can make nails brittle and interfere with adhesion. Check the label—look for “base coat” or “can be used under color.”
Do I need a different base for gel vs. regular polish?
Yes. Gel systems require UV-cured bonding agents (often called “bonding gel” or “pH bonder”), while regular polish needs air-dry, solvent-based base coats. Never interchange them.
My base coat gets stringy—what’s wrong?
It’s old or contaminated. Most base coats last 12–18 months unopened, 6–8 months after opening. If it strings, separates, or smells vinegary, toss it.
Is matte base coat a thing?
Not really—and you don’t want one. Matte finishes reduce surface tension, which hurts polish adhesion. Stick with glossy or satin-finish bases.
Conclusion
Your manicure prep base isn’t filler—it’s the difference between a manicure that fades and one that flourishes. Whether your nails are brittle, oily, ridged, or prone to staining, the right base coat acts as armor, adhesive, and canvas all in one. Invest in understanding your nail type, prep properly, and never skip this step again.
Remember: great nail art starts long before the brush touches color. It starts with respect for the foundation.
Like a 2000s flip phone, your nails deserve sturdy, reliable support—not flashy gimmicks that quit after two days.
Smooth, sealed, strong—
Base coat holds your color close.
No more early chips.